

Before you start
- A Xero organisation you can sign in to. A trial or paid Xero organisation works.
- A few sample documents: supplier bills or invoices, or a bank or credit card statement.
- Your free trial covers 5 files. After that you’ll be asked to choose a plan.
Choose your agent
fileLedger has two agents available today:
You can use both in the same project. They just need separate folders, because a folder holds either accounting rules or bank feed rules, never both.
Step 1: Pick an agent
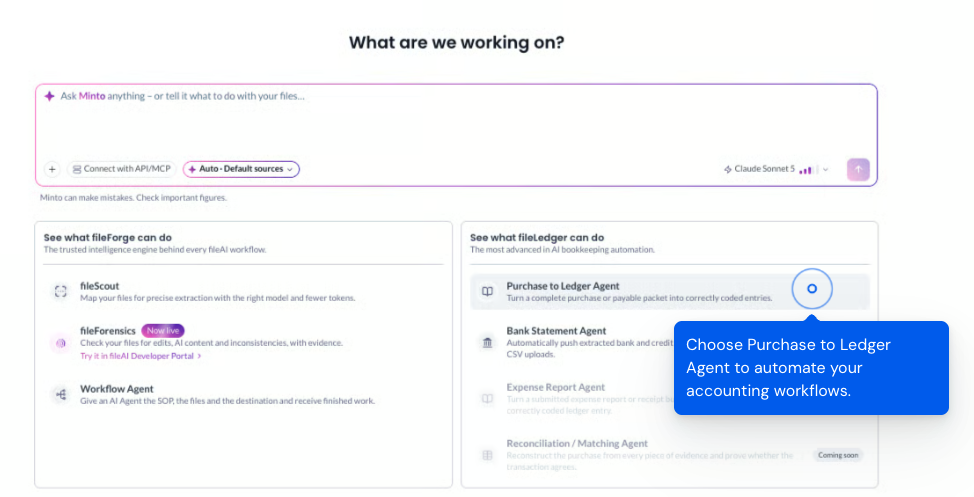
- Open Minto. Under See what fileLedger can do, click Purchase to Ledger Agent or Bank Statement Agent.
- Under Choose an integration, click Xero Accounting (Purchase to Ledger) or Xero Bank Feeds (Bank Statement). QuickBooks is coming soon.
Step 2: Connect Xero
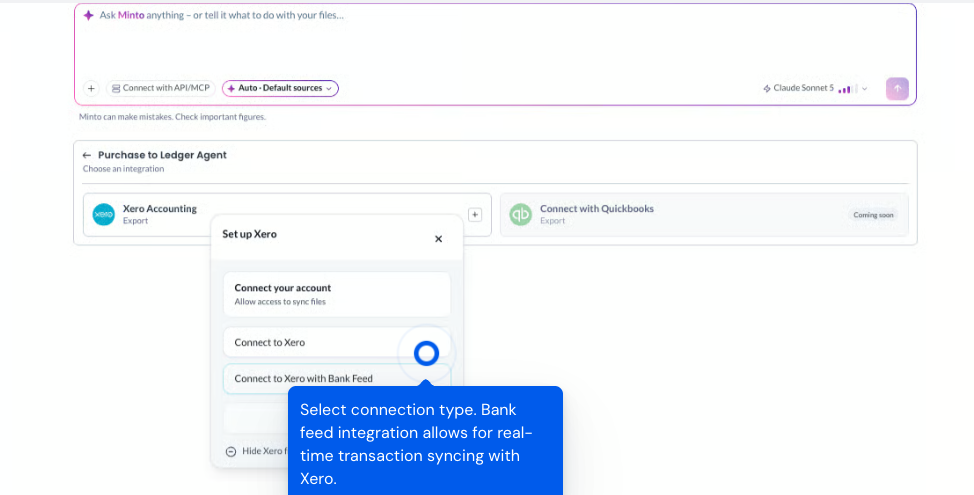
- In Connect your account, click Connect.
- Choose how to connect:
- Connect to Xero for bills, invoices and other accounting documents.
- Connect to Xero with Bank Feed if you also want bank statements sent to Xero’s Reconcile tab.
- Sign in to Xero, pick your organisation and approve access.
If you connect with Connect to Xero and later want Bank Feeds, you’ll need to reconnect using Connect to Xero with Bank Feed.
Step 3: Connect a folder and upload documents
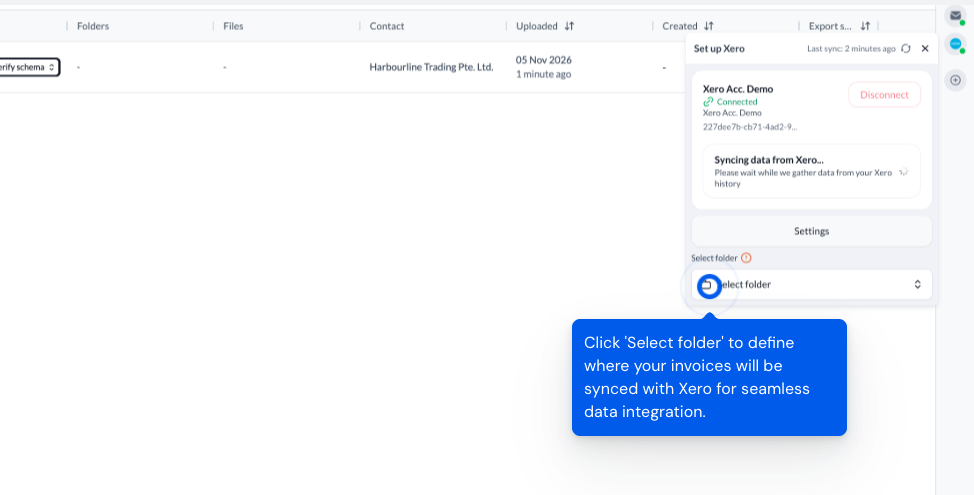
- Create a folder for your documents, for example “Supplier bills”, and connect it to Xero from the panel on the right.
- Upload a few documents into that folder.
Step 4: Check your rules and export
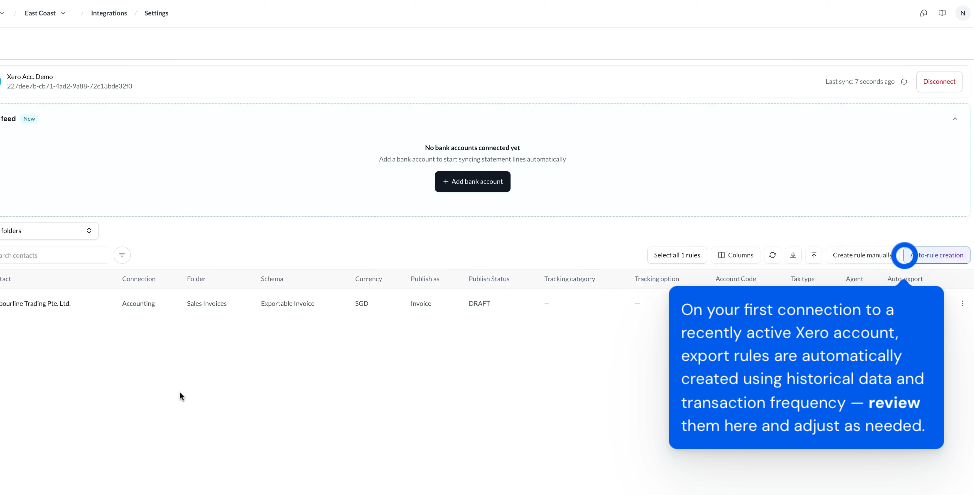
- Open Settings in the Xero panel to see your rules.
- Check the rules for your main suppliers: account code, tax rate and contact.
- Open a processed document, choose Export to Xero, and check it in Xero.
Your free trial and plans
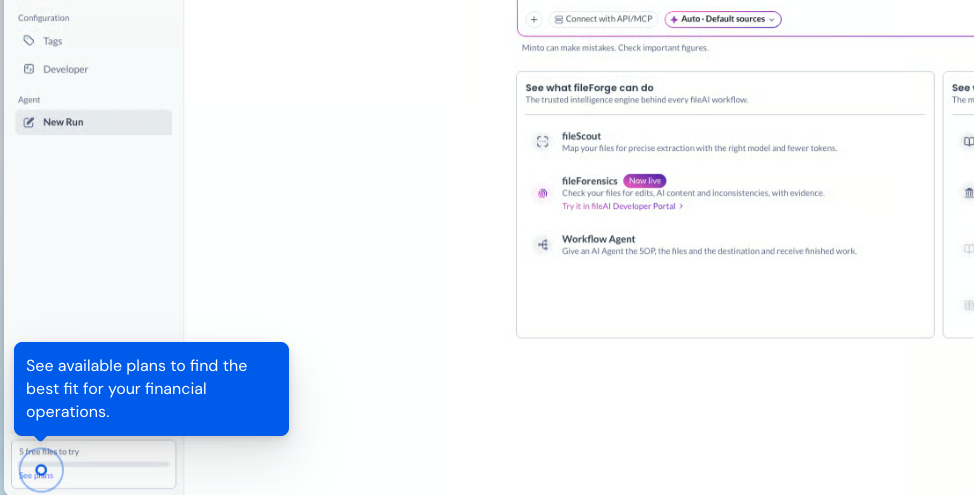
- The sidebar shows how many free files you’ve used, for example “2 of 5 free files used”.
- If you select more files than you have left, only the first ones upload and you’ll be told which.
- fileLedger plans are billed in flows: one flow is one document, or packet of documents, taken from upload to a finished result in Xero. Each agent has its own allowance, shown in the sidebar with the date it resets.